
Section 8.2 Creating a New Script
When you decide that you'd like to create a script, first be sure you have a step you want to include created and then go to the main menu, select Scripts, and then select the option, Create new script with current plot as 1st step.
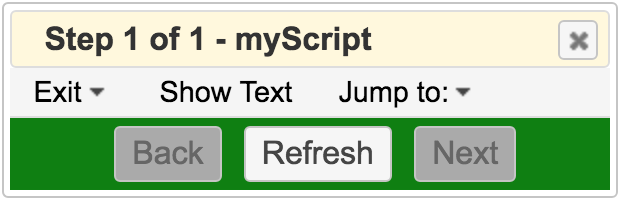
You will be asked to enter a title for your new script. See the figure below. This title will display at the top of an exploration control dialog and will also be the name of the file that will be created when you choose to save it later.

Once you've selected a name for the script, CalcPlot3D will recreate the view using the generated script and the exploration control dialog will be displayed on the screen. This control dialog will allow you to control which step to display in the script and will also allow you to refresh the current step. Initially it will indicate that you are viewing Step 1 of 1.
You are now ready to change the plot to create a second step for the script. Once it is ready, you'll need to use the Add current view to active script. See the next section for more details.
Just remember that creating the script does not automatically save it. You must eventually choose the Save script option to do that.